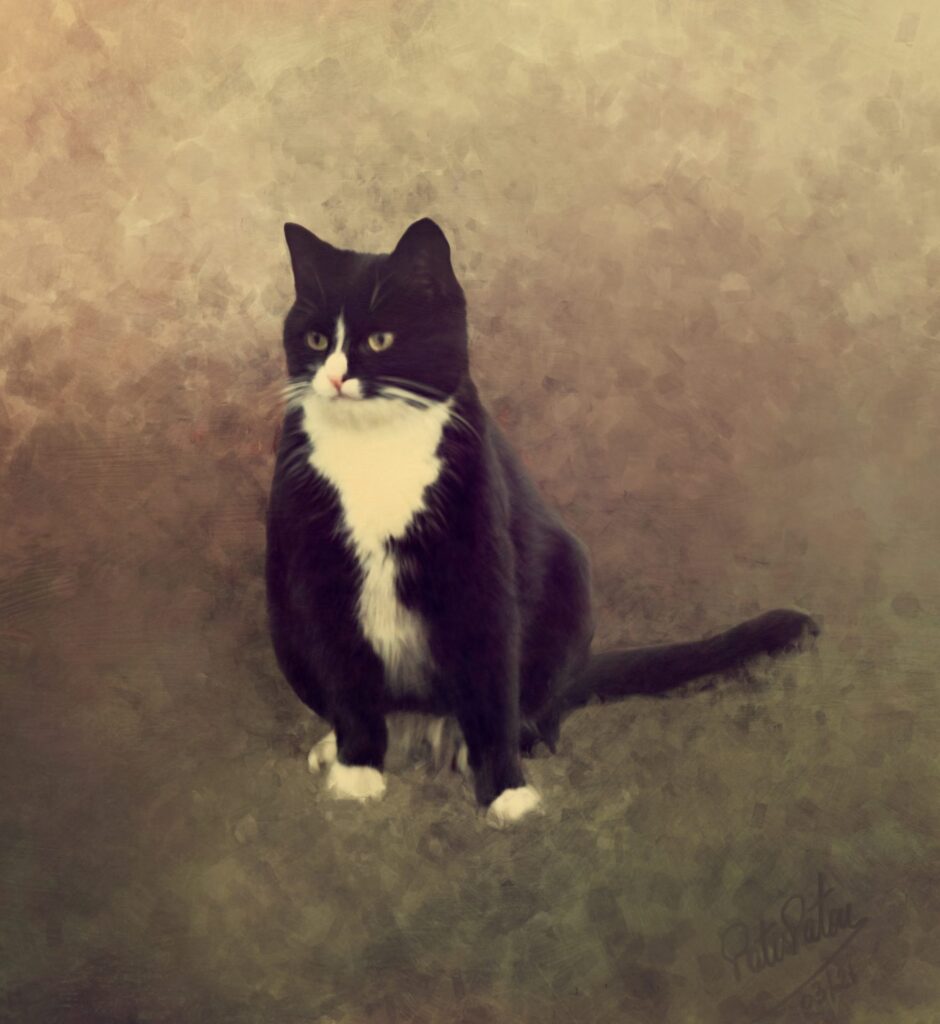
I spent one of these days painting a cat after a photo restoration. It’s been for a long time that my husband was searching for a photo of his dear cat that passed away for a while now. Finally he found one. An old almost damp photo.
My first step was to take a picture of it and attempt to do a photo restoration. Something to remember though! Make sure lighting is good and that the photo you take is in high resolution and preferably in raw. High aperture also. There were several colour aberration spots and dust. The way I tackled it was by using a channel mixer adjustment layer, where the spots were less visible. Afterwards I used the spot healing brush, adjusted the levels and applied curves for the blue and red channels. If you’d like to try, this is one of numerous good resources.
Once the photo restoration was done, I started painting a cat. For my paintings I’ve been using Photoshop as it allows me to sample the layer underneath and the mixer brush panel is more user friendly. Therefore, I know well how much I should wet the brush and consequently capture the pixels from the photo. Also I can control the amount of colour mixing and properly let the brush to be clean all the time or not. The brushes are customised ones for background and fur.
I ended up with two versions of it. One where the garden was painted so husband could remember well when and where it was taken and the other one just the cat in a background that I also painted. Here I am showing the last. Let me introduce you Bifur! 🙂


Leave a reply